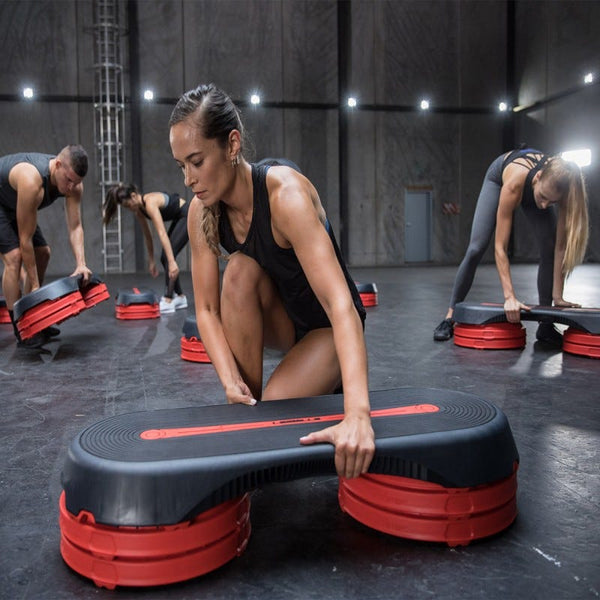
Caring for your Les Mills SMART TECH equipment

It is no secret, SMART TECH equipment due to it's superb quality, innovative design and durability is not cheap, so it makes 100% sense that you will want to care for this as best you can.
In this article we will discuss how to get the most out of your SMART TECH equipment be following these simple care instructions:
SMARTBAND™
The SMARTBAND™ is designed for years of use, however like any product that is produced from a soft material, it can deteriorate over time. All resistance bands will show signs of wear due to the nature of use and the surfaces they interact with. SMARTBANDs that show signs of surface wear (blisters, peeling or delamination) are considered to be within normal wear and tear and do not mean that the band will prematurely break.

Any SMARTBAND that breaks, rips or otherwise fails due to a manufacturing defect will be covered by our warranty for a period of 1 year from the date of purchase. Normal wear and tear is not covered under this warranty.
A video showing use and care can be found here.
SMARTSTEP™
Always make sure the risers are clicked into the deck to ensure a secure platform. HORIZONTAL USE - A maximum of 6 risers may be used under the SMARTSTEP™ deck at each end. Follow the assembly instructions when attaching risers.

INCLINE USE - For all incline uses, one end of the deck must be resting on the floor. To use the SMARTSTEP™ on an incline, position one end of the deck on the floor, and the other correctly on the riser(s) by placing the recess of the deck on the rim of the top riser (see warranty document for visuals). Up to four risers may be stacked under one end of the deck for supine and prone bench incline work (lying on deck) to achieve a range of incline angles.
PROPULSIVE WORK (Springing off the deck) - We recommend limiting the incline to one riser high (a single riser under one side of the deck). Using more than one riser for propulsive work may lead to injury.
A video showing this process can be found here.
SMARTBAR™
LOADING & UNLOADING The SMARTBAR™ should always be loaded and unloaded in the horizontal position. Do not place the SMARTBAR™ bar on its end vertically to load or unload weight plates.

TO LOAD - Rest the SMARTBAR™ horizontally on the floor. Slide the SMARTBAR weight plates into the gator head, ensuring that the weight plates lock securely into place. Load weight plates one by one up to a maximum of three weight plates (of any weight) on each side. Load weights from largest to smallest so that the heaviest weight sits on the inside of the gator (i.e. closest to where it attaches to the bar).
TO UNLOAD -To release a weight plate, lay the SMARTBAR bar horizontally on the floor. Pull the red handle towards the centre of the bar, then slide the weight plate off the bar. Where possible, we recommend pulling back on both sides of the red handle to help release the weight plates. Remove weights one by one.
A video showing this process can be found here.
MBX MAT™
GENERAL USE - Keep the MBX Mat away from sharp items. If you are wearing shoes when using the MBX Mat, ensure they are clean and do not have any sharp items within the tread. Avoid wearing hard or sharp accessories such as metal buttons, rivets, zippers etc. that may damage the MBX Mat.

If you are not wearing shoes when using the MBX Mat, ensure your hands and feet are clean.
A video showing use and care can be found here.
CLEANING - Regularly clean the MBX Mat by gently washing with water and a few drops of mild dish soap using a soft sponge. Hang the MBX Mat to dry. Ensure the MBX Mat is fully dry before rolling or folding to store it. Do not use high heat to dry the MBX Mat.
Further information can be found here.
If you have any questions about purchasing Les Mills equipment or working out from home then make sure to connect with our friendly team now who would be more than happy to assist you.


